Threading A Sewing Machine - The Bobbin And Bobbin Case
The first step in threading a sewing machine with your wound bobbin is to place the bobbin into the bobbin case. How this is done depends on whether your machine has a bobbin case that you insert into your machine or whether you need to simply drop the bobbin into a case that is already in the machine.
Dropping Your Bobbin Into The Bobbin Case:
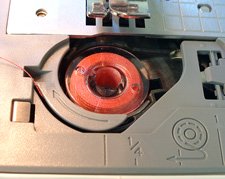
Make sure the thread is unwinding in the correct direction through the tension-adjusting spring of the bobbin case. This looks like a slit on the bobbin case.
Many of the newer sewing machines have diagrams and numbers on the surface of the machine (as in the image to the right) that will guide you through the threading steps for your machine.
Inserting Your Bobbin Into The Bobbin Case Before Inserting The Case Into Your Machine:
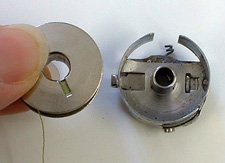
Insert the bobbin into the bobbin case, making sure the thread is running in the correct direction.
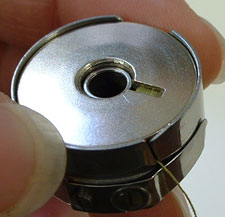
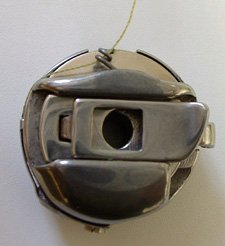
Now that the threaded bobbin is correctly inserted in its case, snap the bobbin case into its place on the bottom of your machine.
Now, To Finish The Threading Job...
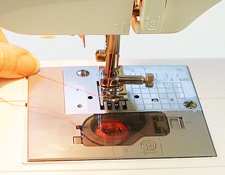
Replace the bobbin cover.
Pull your thread up through the plate. Do this by holding the upper thread and turning the hand wheel a full revolution towards you (counterclockwise). This causes the needle to go down into the bobbin area and back up.
Pull on the upper thread. You should be able to see the lower thread now as it pokes up through the plate.
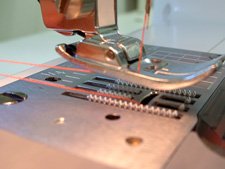
Grab the bobbin thread along with the upper thread. Pull both threads out under the presser foot, trailing towards the back of the machine several inches.
Tips and Cautions When Threading A Sewing Machine:
Congratulations, you are ready to start sewing!
Is Your Sewing Machine Manual Missing?
Of course, there is no substitute for the original manual for your machine. If you have lost your paper version or never had it at all, many of these guides can be found by doing an internet search for your machine brand and model number.
You may find sewing machine manuals and threading diagrams for your specific domestic or industrial sewing machine at
www.sewusa.com .
Happy sewing!
Related Articles
Go to CreativeSewingTips.com Home Page


